


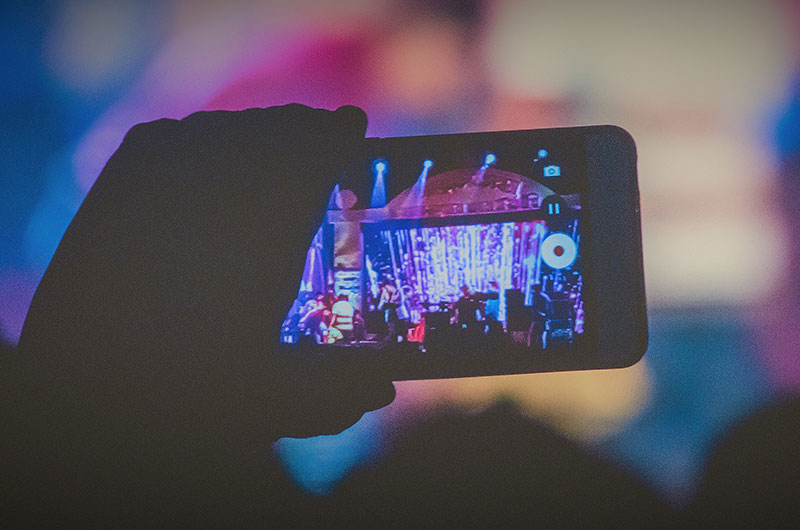
These days, low-light videography is all the rage, but in order to become an expert in the field, you will need to have a lot of experience and be familiar with the many filming methods that industry pros use.
Even if you are using an expensive video camera, if you do not know how to experiment with the various settings of the camera, you will not get the results that you are looking for. This is due to the fact that capturing videos in low-light conditions presents more challenges than doing it in daytime.
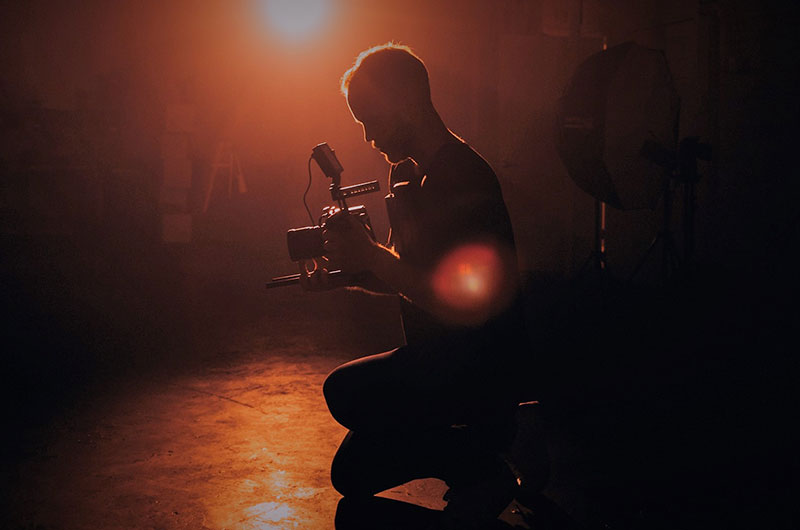
Camcorders are favored over DSLR cameras for use in low-light environments for a variety of reasons. The auto-filter is one of these features. Additionally, in contrast to DSLR cameras, camcorders are equipped with built-in neutral density filters, which enable them to achieve an adequate exposure even in low-light environments. Such settings are not accessible on DSLR cameras. The videographer will need to make manual adjustments to the focus or exposure in response to the different lighting conditions. But the effects that you receive from either one are just breathtaking.
Utilize an Appropriate Amount of Light
Utilizing an extra light that is attached to your shooting camera is yet another helpful tip you may employ while filming in low-light environments. Sometimes the settings on your camera do not assist create enough light on the subject, which makes recording difficult when there is not enough available light. To prevent this from happening, you may move your subject to a location where there is more light. However, in the event that this is not feasible, a second LED light will serve as an excellent backup.
It is necessary to attach this LED light to the camera so that it may shine light on the topic that you are attempting to shoot. In addition to that, it will assist in improving the overall quality of the video.
Multiple camera video lights are available on the market, and you may choose LEDs that are of a high quality, can be relied upon, and are priced affordably. If you install the light on your camera, the graininess of your films will be reduced, and the colors will be more vibrant as a result.
Change the frame rate if necessary
The quality of your video clip as well as the experience of watching it is determined by the frame rate. The quality of the video will be significantly improved by increasing the frame rate. Therefore, it is very important to consider this factor while photographing in low light. The frame rate of certain cameras is predetermined; for example, the frame rate of many cameras is 30 frames per second, but the frame rate of other cameras is 24 frames per second.
Even in poor light, you can acquire films of a good enough quality with a frame rate of 24 frames per second (FPS). The brightness of video footage may also be improved by increasing the frame rate. When the frame rate is lowered, more light will be allowed to enter the camera sensor, which will cause your subject to become sharper and brighter than it normally would be.
Even if your camera is capable of 30 frames per second, it is recommended that you disable the shutter and reduce the frame rate to 1/44 of a second. You will be able to include more light into your video clip if you do this.
You may also alter the frame rate on certain cameras to a value that is lower than 1/24 of a second, such as 1/12 or 1/6. However, this is of no use if you are trying to photograph an item that is moving since this would just result in motion blur. This function requires the subject to maintain a static position in order to perform properly.
Check out the lens’s focal length
When shooting movies in poor light, an excellent technique is to slow the shutter speed down. If you carry a DSLR or a camcorder, there is a straightforward guideline that you must follow. You will need to adjust the shutter speed so that it is proportional to the focal length of the lens. For instance, if you are shooting with a 50mm lens, the shutter speed should be at about 1/50 of a second and no faster.
On the other hand, you will need to increase the shutter speed significantly if the subject that you are attempting to concentrate on is moving. You run the risk of getting a shaky video if the shutter speed is set too slowly, which means that the longer the shutter speed is open, the more light enters the camera. As a result, the films get more grainy and wobbly.
Make sure that the shutter speed does not drop below 1/125 of a second, regardless of the kind of subject you are photographing or whether it is moving or stationary. The shutter speed should be set to 1/50 seconds for 24 frames per second and 1/60 seconds for 30 frames per second. When shooting with a camera or camcorder that is held in one’s hand, it might be challenging to use a quick shutter speed. Even if you do so, the photographs or videos that you record may turn out fuzzy. Therefore, to circumvent this issue, you should make use of a tripod to enable your camera to be set to shoot with a slower shutter speed for as long as you want without sacrificing the focus or clarity of the image.
ISO value
Whether you’re recording a cinematic scenario or just taking a picture, this is a crucial consideration to keep in mind. ISO is nothing more than the amount of light that your camera can handle. When the ISO value is greater, the amount of sensitivity to light increases, whereas when the ISO number is lower, the amount of light sensitivity decreases. It is advised that a higher ISO be used for videotaping in order to make the subject seem brighter and more apparent, even when the lighting is poor.
On the other hand, there is a drawback associated with this. When you increase the ISO setting, you will notice that there is more noise in the photographs. As a result, you will need to set it to its original ISO.


